
There is something wildly satisfying about making butter from scratch. It feels unnecessary in the best way possible. Like yes, I could grab a box from the store… but also, I have a pint of heavy cream and a stand mixer, so why would I not?
The first time you see the whipped cream suddenly break and separate into butter and buttermilk, it feels like kitchen magic. And when you spread that fresh, creamy butter onto a warm homemade English muffin? Game over.
It is two ingredients. It takes about ten minutes. It tastes fresher, cleaner, and just better. And bonus, you get homemade buttermilk out of it too. Which means fluffy pancakes are absolutely happening next.
Ingredients Breakdown
- Heavy Whipping Cream: This is the entire base of the recipe, so use a good one. Heavy cream contains enough fat to separate into butter when whipped long enough. As it mixes, the fat molecules clump together and separate from the liquid, creating butter solids and buttermilk. The higher the fat content, the better the yield and flavor.
- Salt: Salt enhances flavor and slightly extends shelf life. If you prefer unsalted butter for baking control, skip it. If you love a good salted spread for toast, start with 1/2 teaspoon and adjust to taste.
Substitutions and Modifications
-
Add flaky sea salt for texture.
-
Mix in roasted garlic for compound butter.
-
Add honey for honey butter.
-
Add chopped herbs for savory butter.
-
Add cinnamon and a drizzle of maple syrup for brunch butter.
Why You Will Love This Recipe
-
Only one required ingredient
-
Ready in about 10 minutes
-
Fresher than store bought
-
Customizable salt level
-
You get real buttermilk as a bonus
-
Perfect paired with homemade English muffins
It feels fancy but could not be simpler.

Cost Breakdown
1 pint of heavy cream typically costs between 3 and 5 dollars depending on brand and location.
From 1 pint, you will get about:
-
1 to 1 1/4 cups of buttermilk
-
About 1 cup of butter (roughly 2 sticks)
High quality butter at the store can run 4 to 6 dollars for two sticks. So financially, this may be similar in cost depending on cream pricing.
But the freshness, flavor, and bonus buttermilk make it worth it.
Equipment Needed
-
Stand mixer with whisk attachment: Whips the cream long enough to separate butter and buttermilk.
-
Fine mesh strainer: Helps separate the buttermilk from butter solids.
-
Cheesecloth or clean kitchen towel: For squeezing out excess liquid.
-
Spatula: For scraping down the bowl.
-
Airtight container: For storing finished butter.
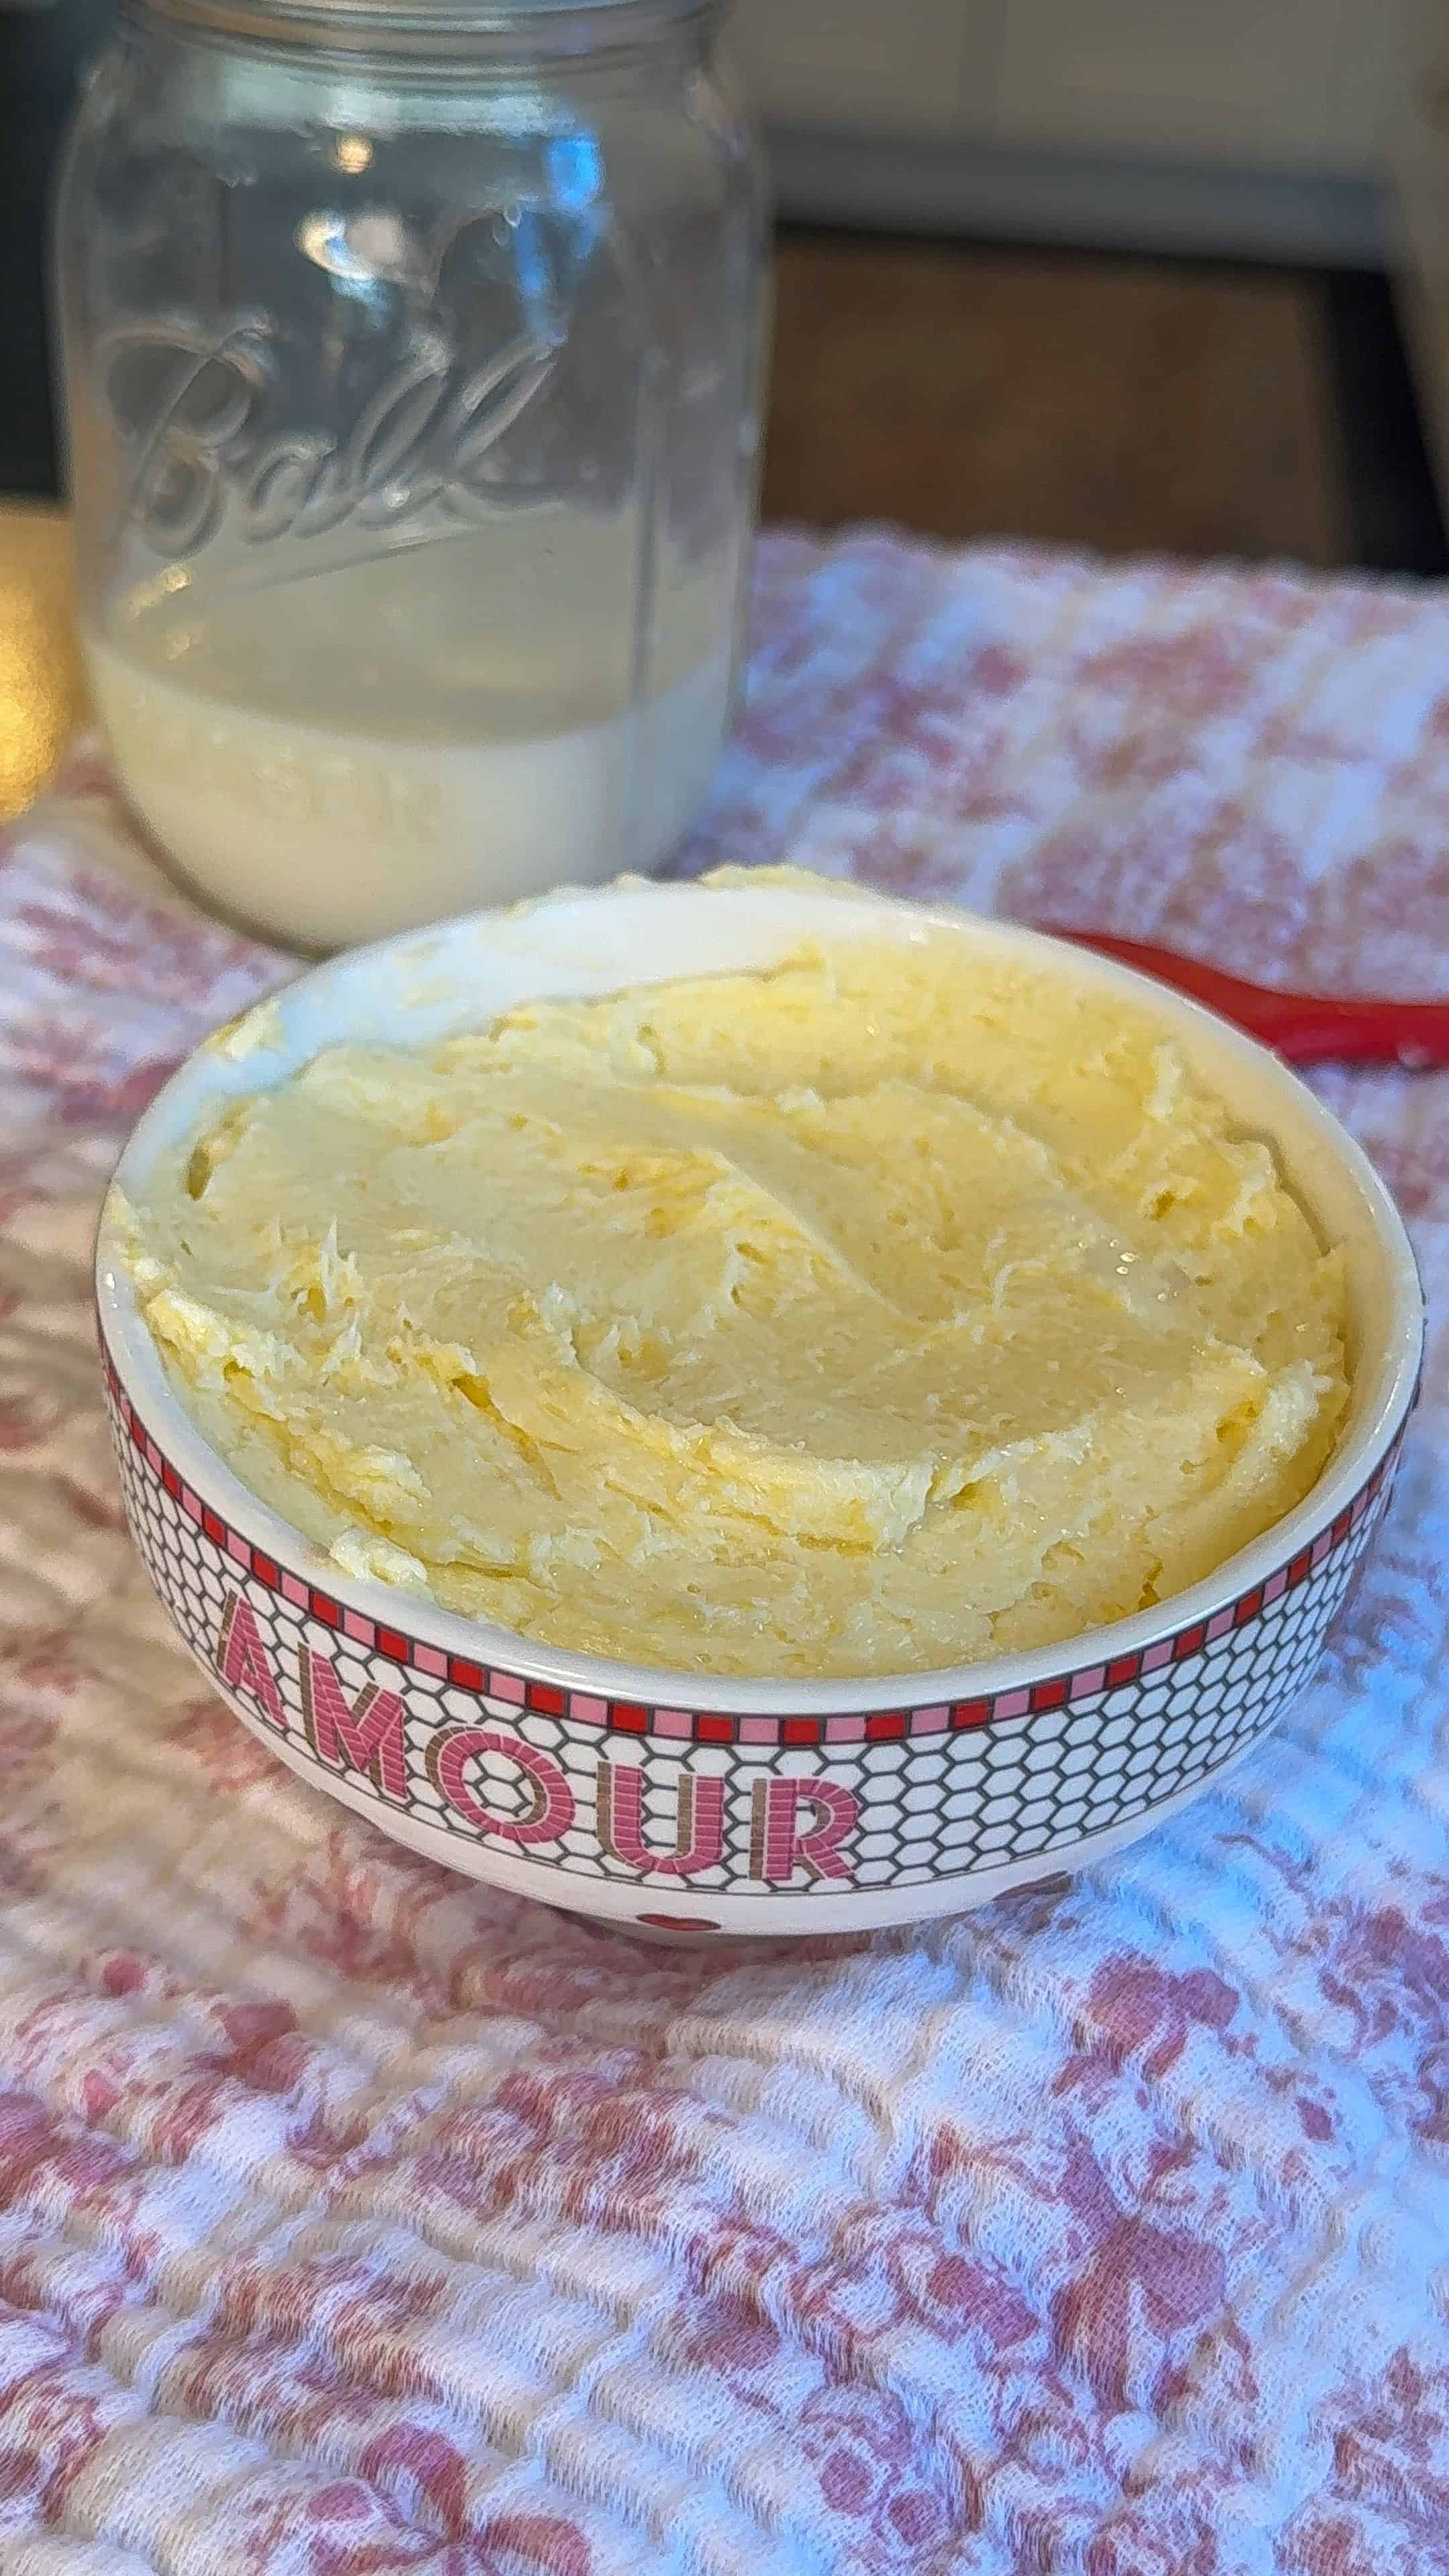
How to Make Homemade Butter with Heavy Cream in 10 Minutes
Ingredients
- 1 pint heavy whipping cream
- ½ to 1 teaspoon salt optional
Instructions
- Pour the heavy whipping cream into the bowl of a stand mixer fitted with the whisk attachment.
- Beat on medium speed, then increase to medium high. Continue whipping for 10 to 12 minutes. The cream will turn into whipped cream first. Keep mixing.
- After several minutes, the mixture will look curdled and begin to separate into yellow butter solids and liquid buttermilk.
- Place a fine mesh strainer over a bowl and pour the mixture through to separate the buttermilk. Reserve the buttermilk for future recipes.
- Using clean hands, cheesecloth, or a towel, squeeze the butter to remove as much excess buttermilk as possible.
- Rinse the butter under cold water, gently pressing and squeezing until the water runs mostly clear.
- Add salt if desired and knead it into the butter until evenly distributed.
- Transfer to an airtight container and refrigerate.
Notes
- Do not stop mixing at whipped cream stage. Keep going until it fully separates.
- Removing excess buttermilk helps extend shelf life.
- Yield is approximately 1 cup of butter plus 1 to 1 1/4 cups buttermilk.
Nutrition
Storage
- Store butter in an airtight container in the refrigerator for up to one week.
- Freeze tightly wrapped for up to 3 months.
- Store the reserved buttermilk in a sealed jar in the refrigerator for up to 1 week and use in pancakes, waffles, biscuits, or my fluffy buttermilk pancakes.
Tips and Tricks
-
Use cold heavy cream straight from the fridge.
-
Start on medium speed, then increase to medium high.
-
Do not stop when it turns into whipped cream. Keep going.
-
When it suddenly looks curdled and watery, that is perfect.
-
Squeeze out as much buttermilk as possible to extend shelf life.
-
Rinse under cold water until the water runs mostly clear.
Removing excess buttermilk is key. Leftover liquid will cause the butter to spoil faster.
Frequently Asked Questions
How do I know it is done?
The mixture will first turn into whipped cream, then become grainy and separate into yellow butter solids and cloudy liquid.
Can I use a hand mixer?
Yes. It will just take slightly longer.
How long does homemade butter last?
About 5 to 7 days in the fridge if fully rinsed and stored properly.
Can I freeze it?
Yes. Wrap tightly and freeze up to 3 months.
Do you LOVE Easy Homemade Recipes?! Check Out More of my Favs:
Homemade English Muffins (Better Than Store Bought)
Homemade Limoncello (The Easy, From-Scratch Italian Lemon Liqueur You’ll Want to Sip All Year Long)
Homemade Coffee Syrups (10 Easy Flavors for Gifting!)
Making butter from scratch feels like one of those old school kitchen skills that sounds complicated but is actually almost laughably simple. It is just cream, a mixer, and a little patience. Then suddenly you have fresh, creamy butter and homemade buttermilk sitting on your counter like you run a tiny bakery out of your kitchen.
The flavor is cleaner, richer, and just tastes fresh. Spread it on warm English muffins, swirl in honey, add flaky salt, or keep it unsalted for baking. Once you see how easy it is, it is hard not to keep a pint of cream in the fridge “just in case.”
Homemade butter is one of those little upgrades that makes everything feel elevated without adding any real effort.




Leave a Reply